Proudly serving Phoenix, Scottsdale, Mesa, Chandler, Glendale, Gilbert & surrounding areasCall or Text 24/7: 602-449-9183
Guides

How Do You Pick the Right Backsplash for Your Kitchen?

Phoenix Tile Flooring explains how material, pattern, coverage, maintenance, and budget should be balanced against the way a Phoenix kitchen is used. The right backsplash protects the wall around stoves, sinks, and prep counters while complementing the countertop, cabinets, and lighting. This guide compares the practical choices that affect durability, cleaning, appearance, and installation.

Quick Summary

  • Budget $15 to $40 per square foot for professionally installed tile; a standard Phoenix kitchen often lands near $1,000 total.
  • Choose porcelain or glazed ceramic for a durable, easy-to-clean surface; classic 3x6 subway tile suits many cabinet styles.
  • Use 12x24 or larger tile for fewer grout lines and a contemporary look, but confirm that the wall is flat enough first.
  • Choose full coverage for greater drywall protection, and expect more upkeep from natural stone or highly textured tile.

Which Backsplash Choices Matter?

Choose for Heat and Splatter

Dense porcelain is a strong choice behind the stove, while glazed ceramic offers durable, budget-conscious coverage throughout the kitchen. Glass resists stains but reveals hard-water spots more readily, and natural stone needs sealing.

Set Tile Size Against Upkeep

Small mosaics and herringbone layouts add detail but create more grout and cuts. Larger formats reduce grout lines and cleaning, provided the substrate is flat enough for a sound installation.

Choose Coverage and Layout

Full-height coverage to the cabinets protects more wall than a partial four-inch strip, especially behind the stove and sink. A simple running bond limits labor, while herringbone and mosaic patterns require extra cutting.

Backsplash Details Worth Comparing

3x6 Subway Tile Beside 12x24 Tile

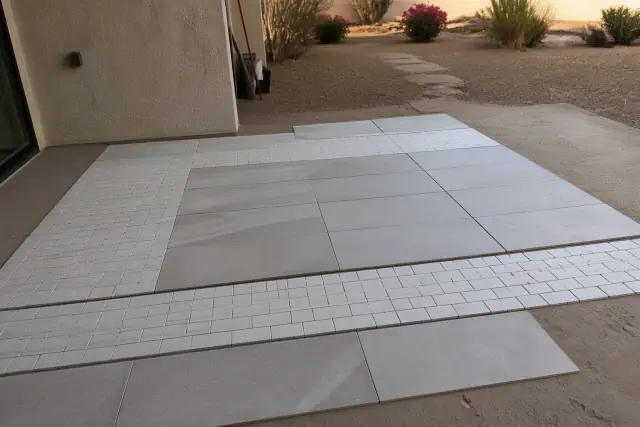
Dry layout of 3x6 subway tiles and 12x24 tiles on a floor in Phoenix, AZ.

A 3x6 subway layout creates a familiar grid with more grout joints, while 12x24 tile produces broader, quieter surfaces. The scale difference shifts the kitchen from traditional toward contemporary.

Full-Height and Four-Inch Coverage

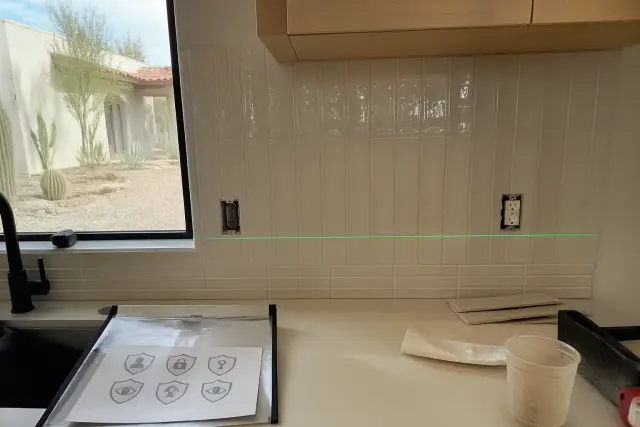
A laser level on a kitchen backsplash showing four-inch and full-height tile options in a Phoenix, AZ home.

Full-height tile protects the wall from the countertop to the cabinets near cooking and washing zones. A four-inch strip uses less material but leaves more painted drywall exposed.

Running Bond and Herringbone Layouts

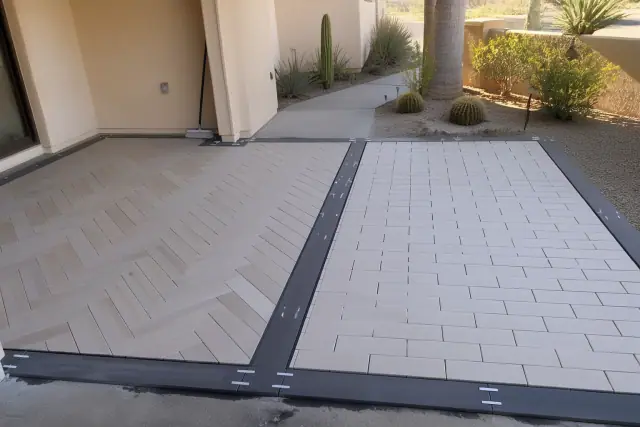
Dry-fit tile installation with running bond and herringbone patterns on a jobsite in Phoenix, AZ.

Running bond keeps the layout visually quiet and limits cutting. Herringbone creates stronger movement but demands more cuts, alignment, and labor from the same tile.

Backsplash Choice Snapshot

Best Low-Maintenance Surface

Smooth glazed ceramic and porcelain wipe clean with little routine care. Porcelain tested under ANSI A137.1 has water absorption under 0.5 percent, making it especially useful near stoves and sinks.

Size and Wall Condition

Mid-size 2x9, 3x6, 4x8, 5x5, and 6x6 tile balances detail with manageable grout. Wall tile is typically 5/16 inch to 3/8 inch thick, while 12x24 tile needs a flatter substrate and careful transition planning.

Typical Installation Window

A standard backsplash generally takes one to two days for preparation, setting, and grouting. Old-tile removal, intricate mosaics, herringbone, or natural-stone sealing can extend the work to three days.

Maintenance Watchout

Natural stone generally needs resealing about every 12 to 24 months, while standard cement grout should be sealed annually. Epoxy grout resists moisture and staining without sealing, but textured tile still needs more scrubbing.

Backsplash Material Comparison

MaterialBest FitCleaning and MaintenanceRelative Cost
CeramicVersatile everyday kitchens and classic patternsLow; glazed surfaces resist grease and stainsLow
PorcelainHigh-use areas behind stoves and sinksLow; dense surface resists moisture and stainingMedium
GlassBright accents and kitchens with strong task lightingMedium; non-porous but shows hard-water spotsMedium
Natural stoneDistinctive marble, travertine, or slate surfacesHigh; periodic sealing helps prevent etching and stainsHigh

Choose for Daily Use Before Style

Start with the wall that receives the most grease, heat, and water, then choose the surface and coverage that make that zone easy to maintain. Porcelain provides the strongest moisture resistance; glazed ceramic offers broad color and price options; glass brightens dark areas but shows water spots; and marble, travertine, or slate trade simpler care for natural variation. Phoenix hard water supplied through Salt River Project and Central Arizona Project systems can leave mineral deposits, while dust and cooking splatter settle more readily on textured surfaces. Let the countertop guide the visual balance: quiet tile can calm strongly veined granite, while uniform quartz can support more color or pattern.

What Changes the Budget

Wall area, full-height versus partial coverage, tile material, pattern complexity, substrate preparation, and old-tile removal all change cost. Smaller professional installations typically start around $700. Tile alone can range from a few dollars per square foot for basic ceramic to $20 or more per square foot for natural stone or handmade artisan tile. Running bond limits cuts, while herringbone and mosaics add labor; large-format tile reduces grout lines but may require more exact wall preparation.

Common Follow-Up Questions

Should the backsplash match the countertop or cabinets? It should complement the surface with the strongest pattern, so neutral tile often suits veined granite while uniform quartz leaves room for color or texture. What works in a small kitchen? Mid-size 3x6 or 4x8 tile adds proportionate detail, while larger tile can make the wall feel calmer by reducing grout lines. When is repair enough? A few cracked tiles or isolated grout failure may be repairable, but widespread damage, hidden moisture, or grout deterioration in a kitchen over 10 to 15 years old can make replacement the more practical choice.
Plan Your Backsplash

Need Help Finalizing Your Backsplash?

A local tile professional can measure the wall area, assess substrate flatness, confirm the thinset and pattern layout, and plan outlet and switch cuts before installation. Ask how removal, grout, natural-stone sealing, and final cleanup are reflected in the scope, and request setting work that follows ANSI A108 and Tile Council of North America methods.